
Modern microservices architectures are highly distributed, making them vulnerable to transient failures such as network glitches, temporary service unavailability, or slow downstream dependencies. Istio Ambient Mesh addresses these challenges by providing powerful Layer 7 traffic management capabilities—including retry and timeout policies—without requiring sidecars on every pod.
In this blog, we’ll break down what retry and timeout policies are, why they matter, and how Istio Ambient Mesh implements them using waypoint proxies.
Video on Istio Ambient Mesh | Retry and Timeout Policies
In case you want to refer to the video, then here is the video.
What is Retry and Timeout in Ambient Mesh?
Retry means if a request to a service fails (like due to a quick network glitch), Istio automatically tries it again a set number of times, such as 3 total attempts. This helps handle temporary issues without crashing your app.
Timeout sets a max wait time for a request before giving up, like 2 seconds. It stops requests from hanging forever, keeping things fast.
Istio supports retry and timeout i.e. the L7 Policies in ambient mode using the waypoint proxies.
Now, let’s discuss the need of retry and timeout
Need of Retry and Timeout Policies
- Sometimes, microservices communicate over unreliable networks,
- Services can fail temporarily or respond slowly,
- Without policies, failures cascade through the system
To solve the above problems there is a need of retry and timeout.
- Timeout Policies
- Prevent requests from waiting indefinitely
- Fail fast instead of blocking resources
- Improve user experience with predictable response times
- Retry Policies
- Automatically retry failed requests
- Handle transient failures (network glitches, temporary service issues)
- Increase overall system reliability without code changes
Architecture of Timeout Policy
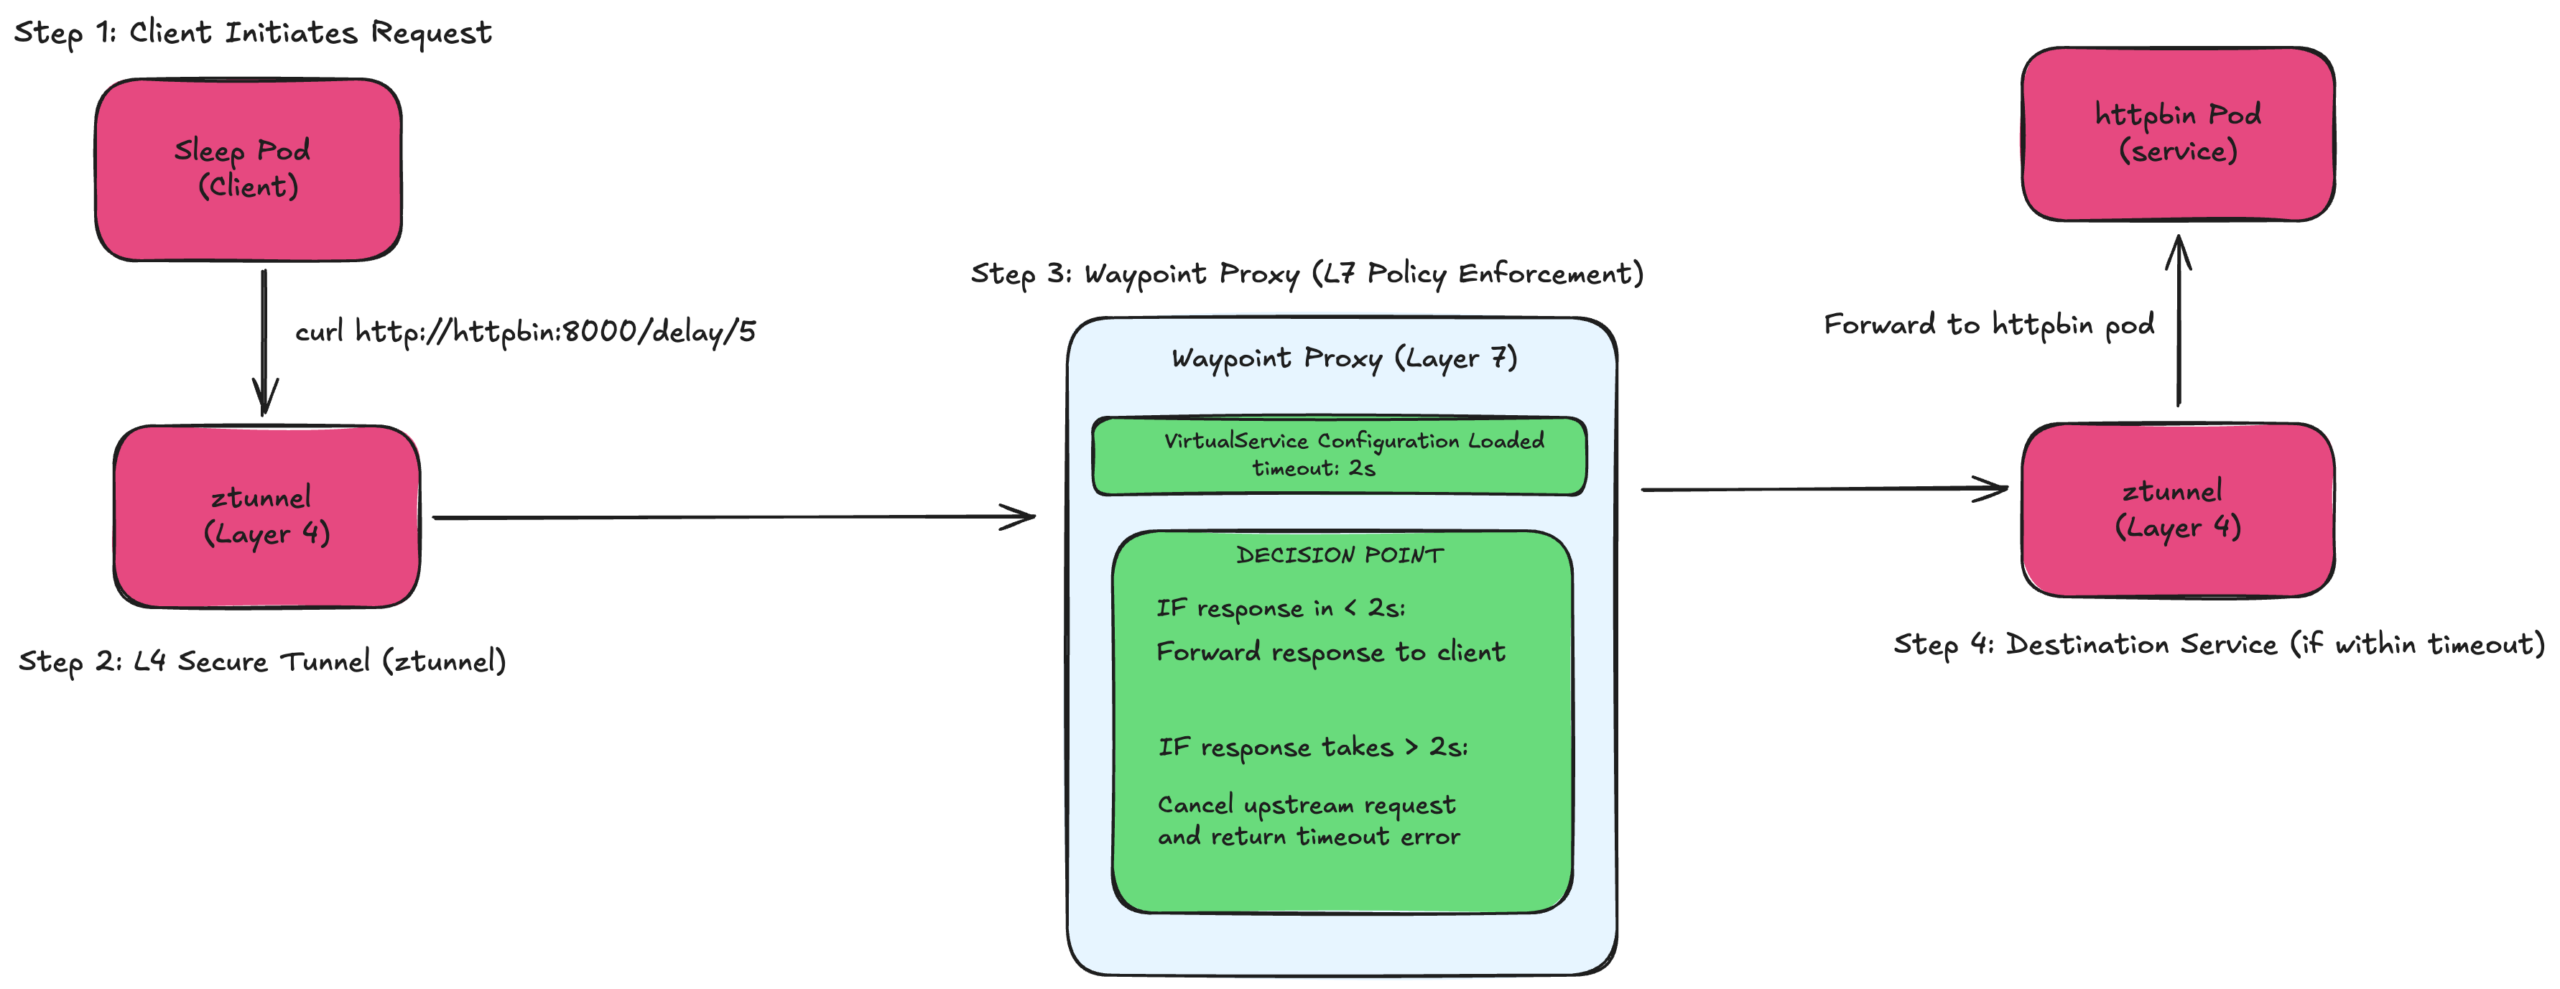
FIG A: Timeout policy architecture
It sets a maximum waiting time for requests. If a service takes too long to respond, cancel the request and return an error.
The client sends request to httpbin (asking for 5-second delay)
Request passes through z-tunnel (L4 security layer)
Waypoint proxy starts a 2-second timer
Forwards request to httpbin
Decision point at 2 seconds:
- If response came back → Return success to client
- If still waiting → Kill the request, return “504 Timeout”
The waypoint proxy is the “bouncer” – it won’t wait more than 2 seconds. Even though httpbin tries to respond after 5 seconds, waypoint has already given up and told the client “Took too long”.
Real-world analogy – Like ordering food with a 2-minute maximum wait. If the kitchen takes 5 minutes, you leave after 2 minutes (timeout) instead of waiting forever.
Architecture of Retry Policy
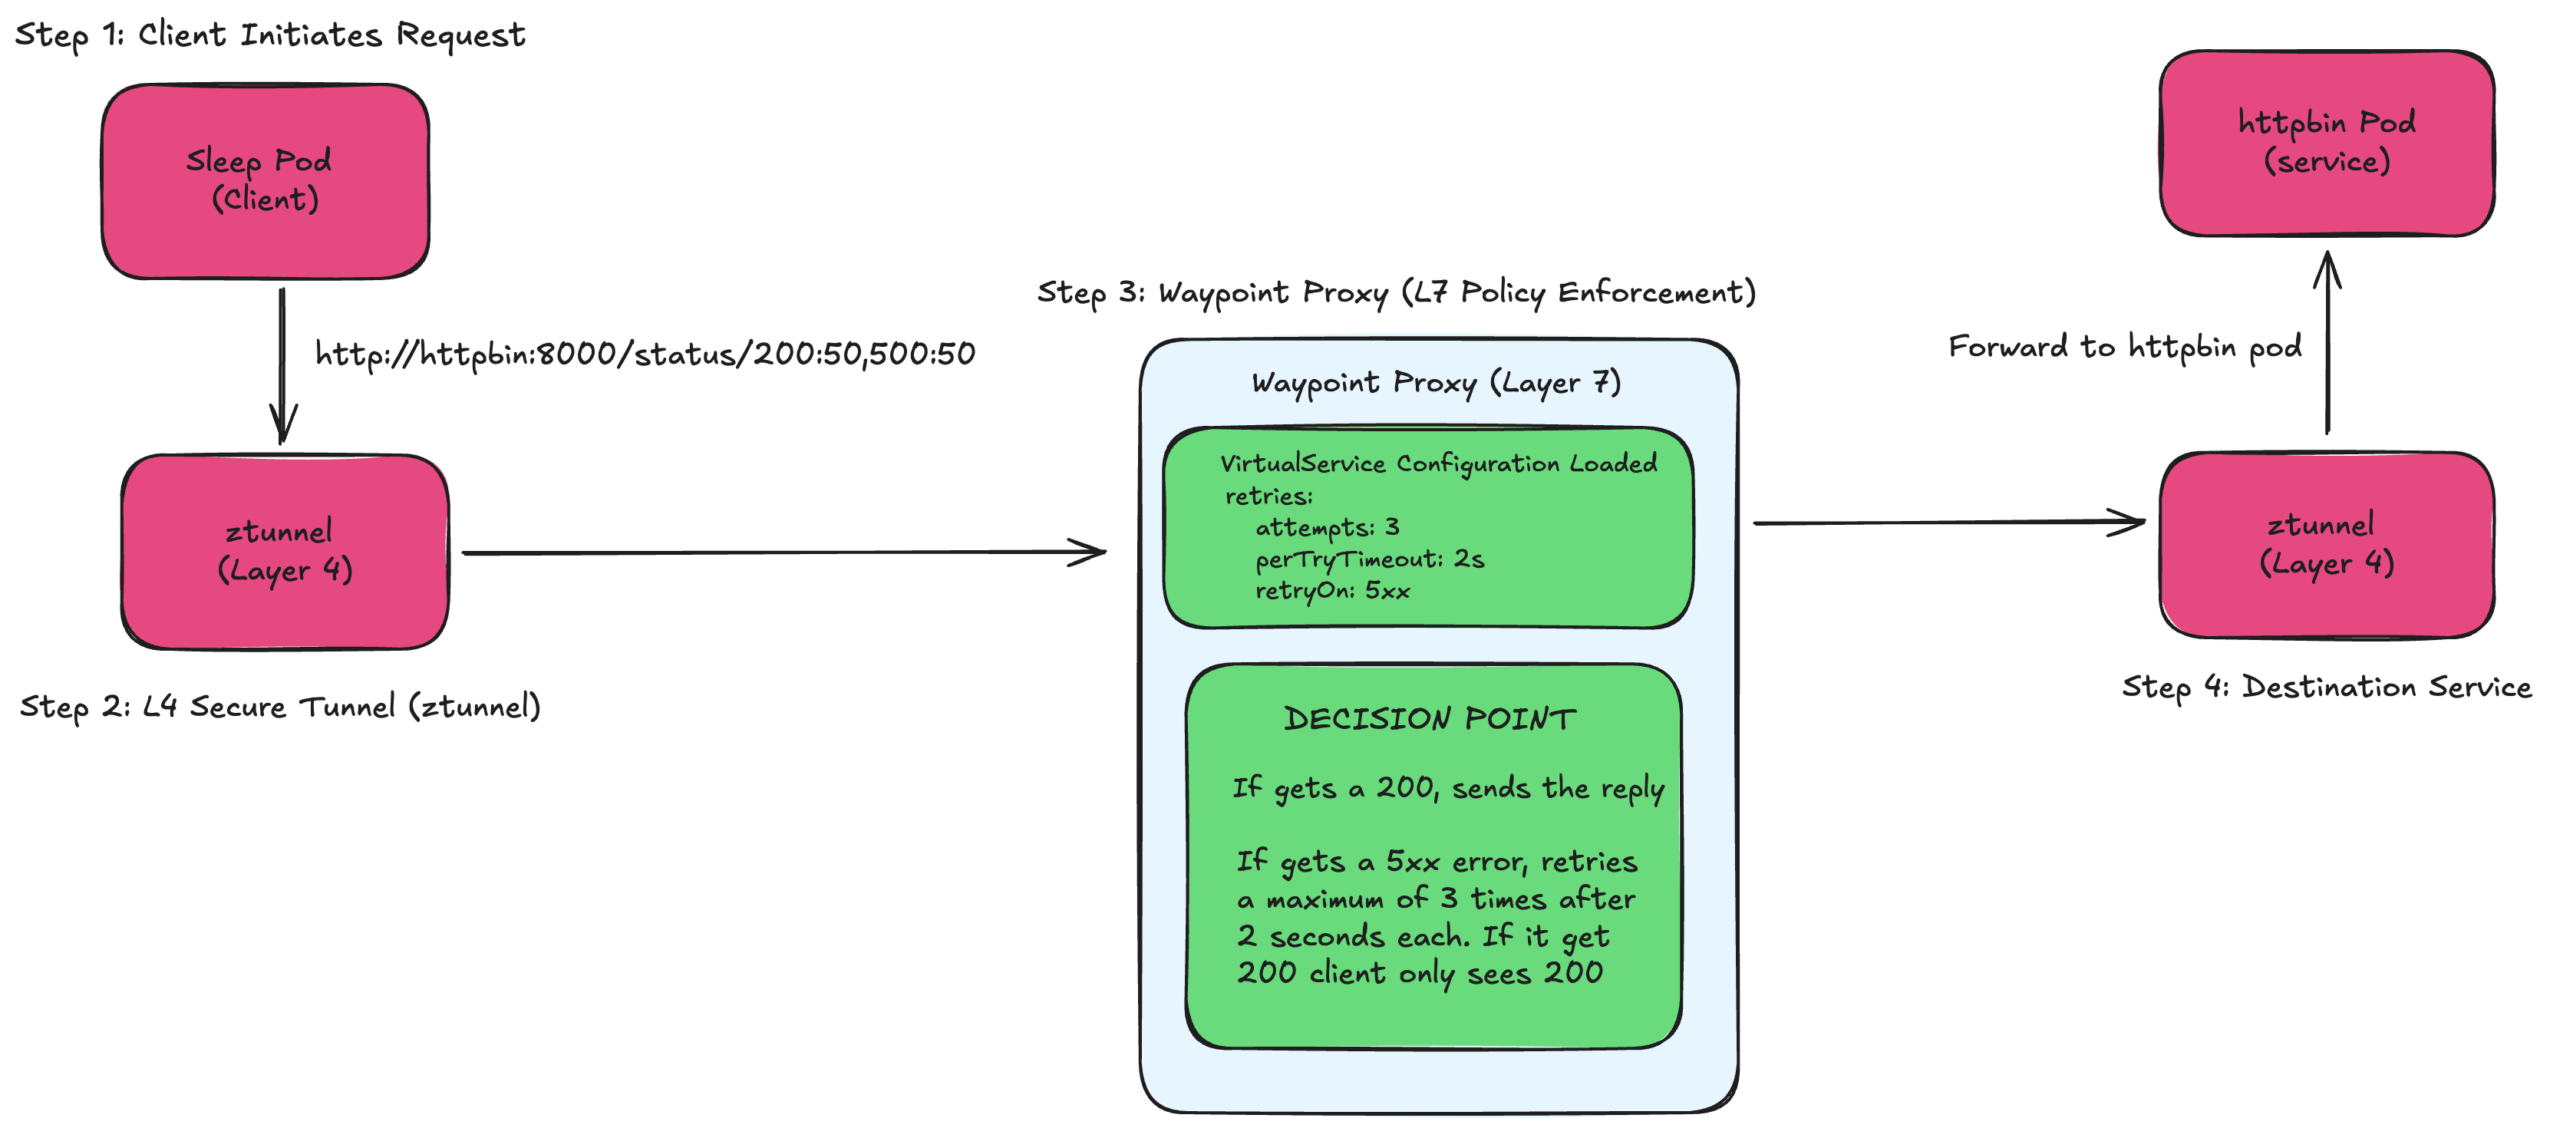
FIG B: Retry policy architecture
Automatically retry failed requests up to 3 times. If the first attempt fails, try again until it succeeds or runs out of attempts.
The client sends request to httpbin
Request goes through z-tunnel to waypoint
Attempt 1: Waypoint forwards to httpbin → Gets error
Waypoint thinks: “This is a 5xx error, I should retry!”
Attempt 2: Waypoint tries again → Gets 500 error
Waypoint thinks: “Still failing, one more try!”
Attempt 3: Waypoint tries again → Gets 200 success
Waypoint returns 200 to client (client never knew about the failures!)
The client only sees the final successful result. All the retry logic happens invisibly in the waypoint proxy. It’s like having a persistent assistant who keeps trying on your behalf.
Real-world analogy – Like calling a busy phone number. Instead of you manually redialling 3 times, an auto-dialler keeps trying until someone picks up, then connects you – you only hear the successful connection.
Demo prerequisites
To demonstrate retry and timeout policies in Istio Ambient Mesh, the following setup is required:
Infrastructure
- Kubernetes cluster (Kind used in this demo)
- Istio with Ambient Mesh enabled
- Ambient mode enabled on the target namespace
Test Applications
httpbin – test service
sleep – test client
Waypoint proxy – required for L7 traffic processing
Create the Kind Cluster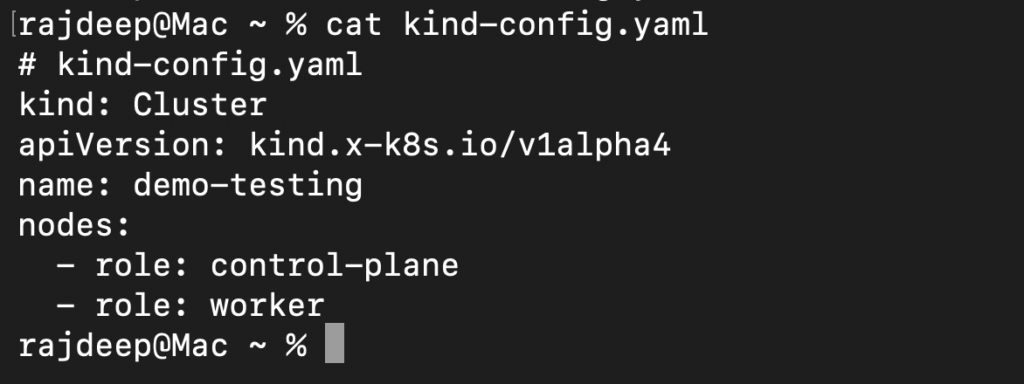
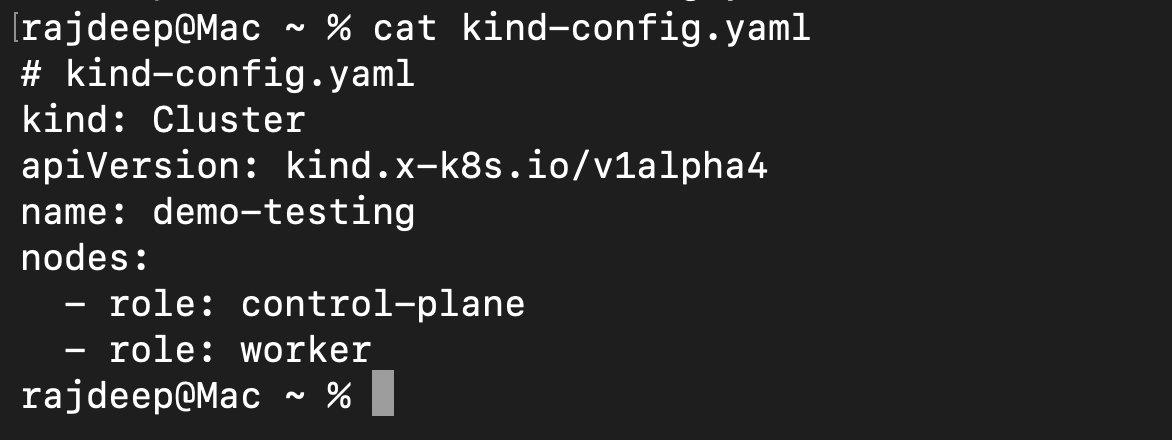
kind create cluster – config kind-config.yaml
Istio installation in ambient mode
curl -L https://istio.io/downloadIstio | ISTIO_VERSION=1.27.0 sh –
cd istio-1.27.0
export PATH=$PWD/bin:$PATH
istioctl install –set profile=ambient –skip-confirmation
Enable Waypoint
kubectl get crd gateways.gateway.networking.k8s.io &> /dev/null ||
kubectl apply -f https://github.com/kubernetes-sigs/gateway-api/releases/download/v1.3.0/standard-install.yaml
istioctl waypoint apply -n default –enroll-namespace
Setup the Demo Applications
kubectl apply -f samples/sleep/sleep.yaml
kubectl apply -f samples/httpbin/httpbin.yaml
YAMLs used in the Demo
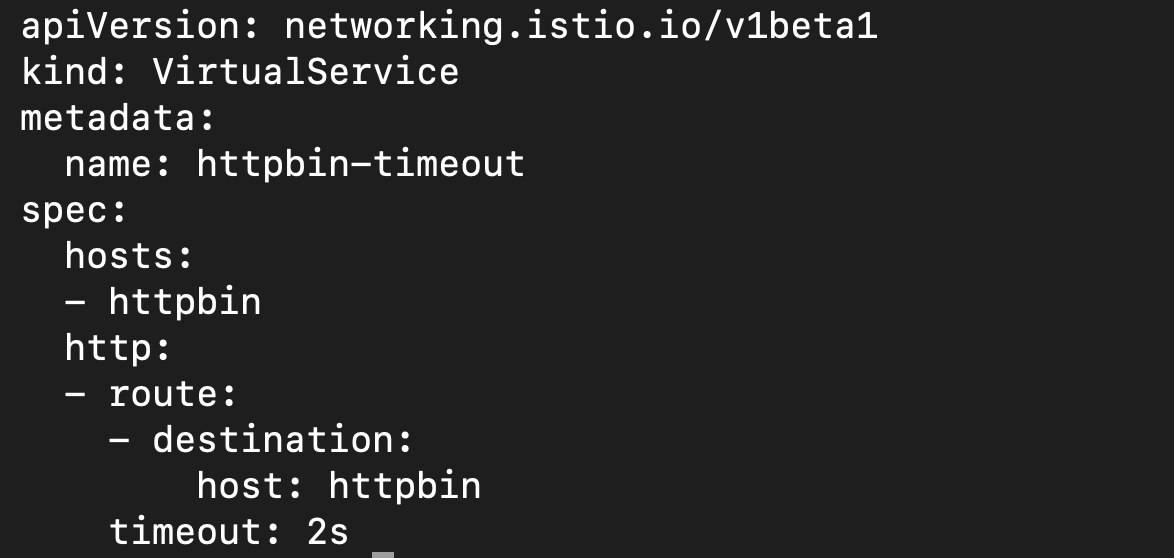
Timeout policy
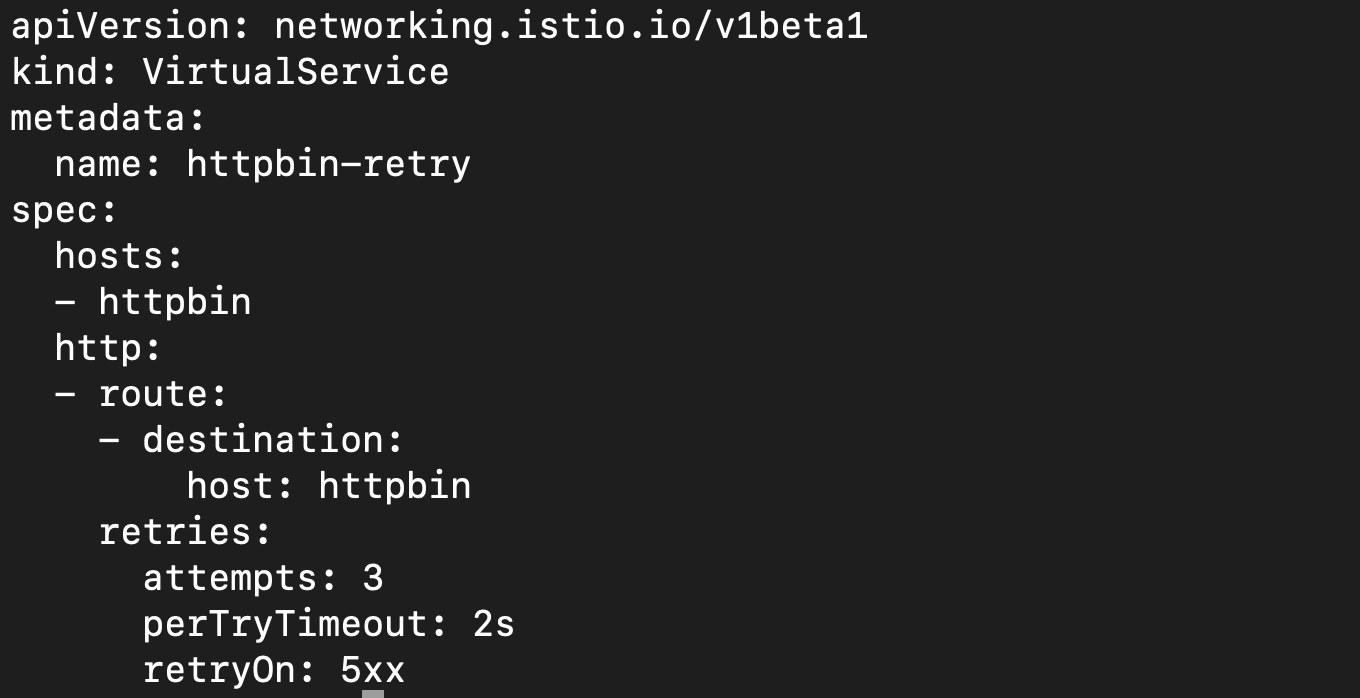
Retry policy
Final Thoughts
Istio Ambient Mesh brings powerful L7 traffic management, such as, retry and timeout policies—without the complexity of sidecars. By leveraging waypoint proxies, teams can build resilient, scalable, and reliable microservices architectures while keeping application code clean and simple.
If you are adopting Istio Ambient Mesh, configuring retries and timeouts should be one of your first steps toward production readiness.
For Ambient mesh support reach out to our experts